How to Recover Deleted Files Like a Forensic Investigator (Step-by-Step)
PROF. PETER OLU. OLAYIWOLA, Ph.D. · September 10, 2026 · 4 min read
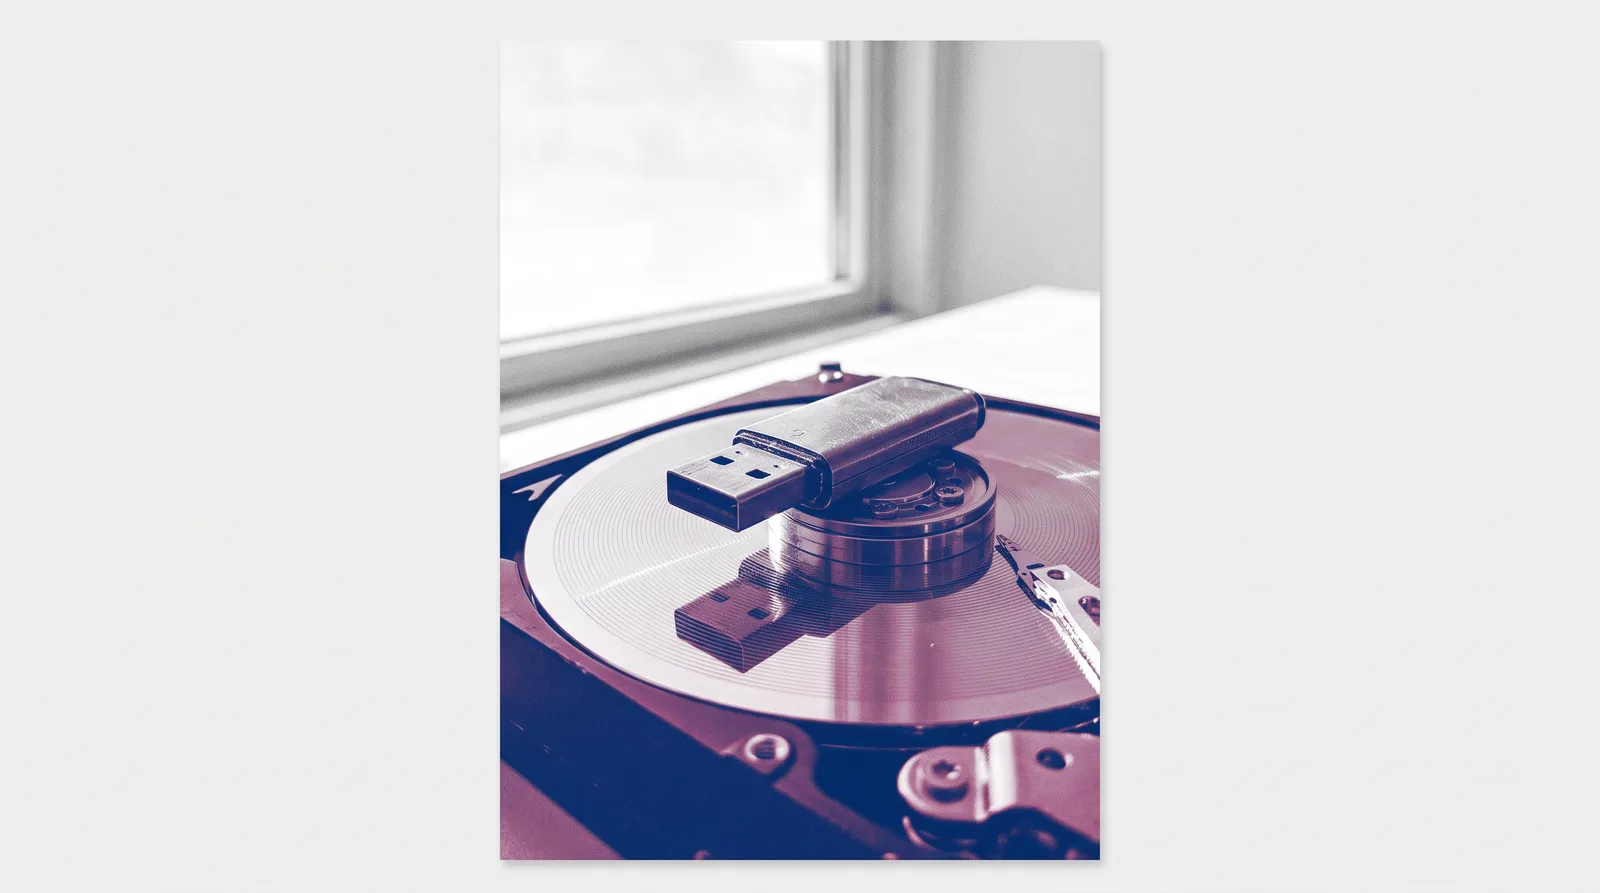
When you delete a file, your operating system doesn't actually erase it. It removes the pointer to that file — the index entry — and marks the space as available for reuse. The data itself sits right where it was, waiting. Forensic investigators know this, and it's exactly why deleted files can be recovered days, weeks, or even months later.
Whether you're trying to retrieve an accidentally deleted document or you're curious about how digital investigators build a case, this walkthrough will show you the actual process — the same logical framework used in professional forensic work — using two beginner-accessible tools: Recuva and Autopsy.
Why "Deleted" Isn't Really Deleted
Every file on your drive has two things: its data and its directory entry (the record that tells the OS where the file lives). When you hit delete, only the directory entry is marked as available. The underlying data remains in place until the OS overwrites it with something new.
This is why time matters enormously. The longer a drive stays in use after deletion, the higher the chance that data gets overwritten. In forensic work, the first rule is: stop writing to the drive immediately.
Step 1 — Work on a Copy, Not the Original
This is the single most important principle in forensic recovery: never work on the original drive.
Investigators create a forensic image — a bit-for-bit copy of the entire drive — before touching anything. This preserves the original evidence and gives you a working copy you can analyze without risk.
For professional imaging, tools like FTK Imager (free) let you create a verified forensic image. For a quick personal recovery where evidence integrity isn't a legal concern, you can work directly with Recuva — but understand the trade-off.
If legal proceedings could ever be involved, image first. Always.
Step 2 — Use Recuva for Quick, Beginner-Friendly Recovery
Recuva by Piriform is free, Windows-based, and genuinely excellent for recovering deleted files from hard drives, USB drives, and memory cards.
Here's how to use it:
- Download and install Recuva on a different drive than the one you're recovering from. Installing software on the target drive risks overwriting the very files you want to recover.
- Launch the Wizard and select the file type you're looking for — pictures, documents, music, or all files.
- Select the location — choose the specific drive or folder where the files were deleted.
- Enable Deep Scan when prompted. This takes longer but finds files that a quick scan misses, especially on drives that have seen heavy use.
- Review results — Recuva color-codes files: green means excellent recovery chance, yellow means overwritten in parts, red means severely overwritten.
- Recover to a different drive. Never recover files back onto the same drive you're pulling them from.
Recuva is powerful for personal use. But it won't give you the case-documentation trail or the forensic metadata that professional investigations require. That's where Autopsy comes in.
Step 3 — Use Autopsy for Deeper Forensic Analysis
Autopsy is the open-source digital forensics platform used by law enforcement and investigators worldwide. It's free, runs on Windows, and it's the interface built on top of The Sleuth Kit — one of the most respected forensic toolkits in the field.
Here's the basic workflow:
- Create a new case inside Autopsy. Give it a case name, case number, and examiner name. This documentation matters — it's part of the chain of custody.
- Add a data source — this is where you point Autopsy to your forensic image (or, for practice, a USB drive). Select "Disk Image or VM File" if you're using an image.
- Run ingest modules — Autopsy will analyze the data source. Make sure "Recent Activity," "File Type Identification," and "Deleted Files" modules are enabled.
- Navigate to the Deleted Files section in the left-hand panel once the scan completes. You'll see files listed with their original file paths, metadata, and recovery status.
- Export files of interest and document every action in your case notes. Autopsy keeps an activity log automatically, which is critical for any report you'd need to produce.
The metadata Autopsy preserves — timestamps, file paths, hash values — is what makes recovered evidence admissible and credible.
Step 4 — Verify Integrity with Hash Values
Forensic investigators verify that their recovered copy matches the original using hash values — unique digital fingerprints for files. Tools like Autopsy generate MD5 or SHA-256 hashes automatically.
If the hash of your forensic image matches the hash of the original drive, you've proven the copy is identical. This is chain-of-custody discipline, and it's what separates a professional recovery from a casual one.
What This Skill Really Opens Up
Understanding file recovery at this level isn't just useful for retrieving your own lost data. It teaches you how operating systems handle storage, how evidence survives deletion, and how investigators build airtight cases from digital artifacts. It's a foundational skill in a much larger discipline.
If this process has you thinking about going deeper — investigating live systems, analyzing file system structures, or tracing cybercrime through digital artifacts — that's exactly the territory my Digital Forensics Lab covers, one real case scenario at a time. The tools are the easy part. Learning to think like an investigator is where it gets genuinely interesting.